Wick candles are a versatile and popular choice for DIY enthusiasts looking to add a warm and cozy ambiance to their projects. Whether you’re creating homemade gifts or revamping your living space, understanding how to effectively use wick candles is essential for a successful outcome. In this article, we will explore the basics of wick candles, how to incorporate them into your DIY projects, a step-by-step guide on using them, troubleshooting common issues, and how to properly maintain them.
Understanding Wick Candles
Before diving into using wick candles in your DIY projects, it’s important to grasp the basics of these enchanting items. Wick candles are candles that have a wick embedded in the wax, allowing for a consistent and controlled burn. They come in various sizes, shapes, and scents to suit any project or personal taste.
The Basics of Wick Candles
Wick candles are made from a blend of high-quality wax and natural fibers, enclosed in a durable container. This ensures a slow and even burn, leading to a longer-lasting candle. The wick used in these candles is typically made from cotton or a mix of cotton and linen, allowing for a consistent flame and minimal smoke.
When selecting wick candles for your DIY projects, consider factors such as burn time, scent, and the overall aesthetic appeal. Choosing the right type of wick candle will greatly enhance the final result.
Different Types of Wick Candles
There is a wide array of wick candles available on the market, each offering its own unique features and benefits. Some popular options include:
- Traditional pillar candles: These classic candles are sturdy and versatile, making them suitable for various DIY projects. Whether you’re creating a romantic ambiance for a dinner date or adding a touch of elegance to a centerpiece, pillar candles are a reliable choice. With their timeless design and long burn time, they are sure to enhance any DIY project.
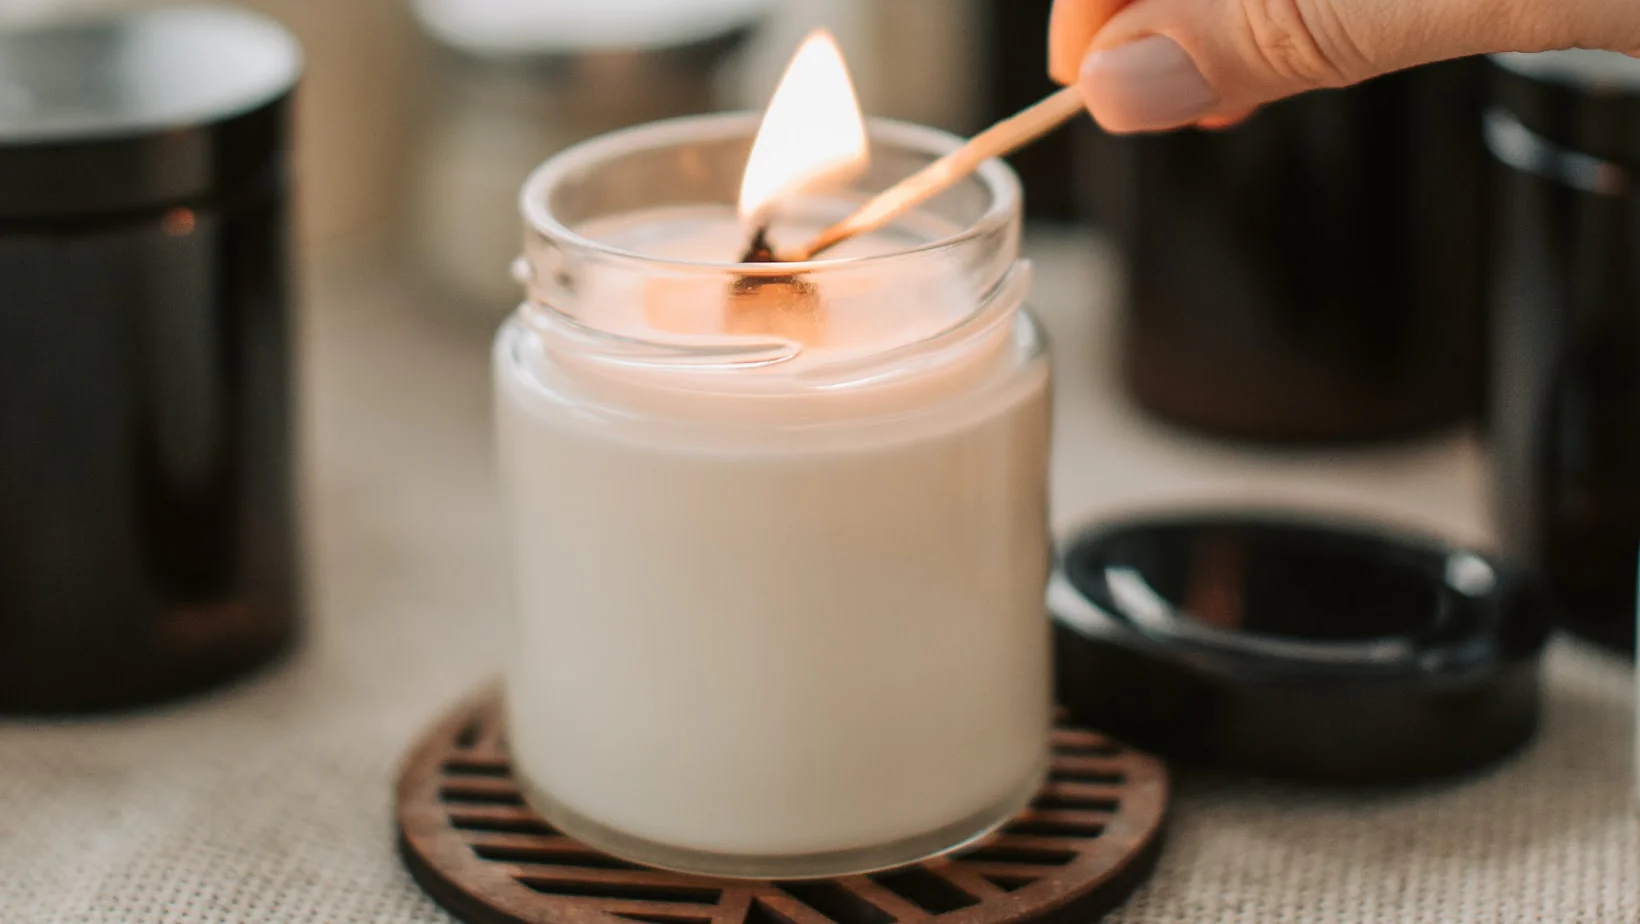
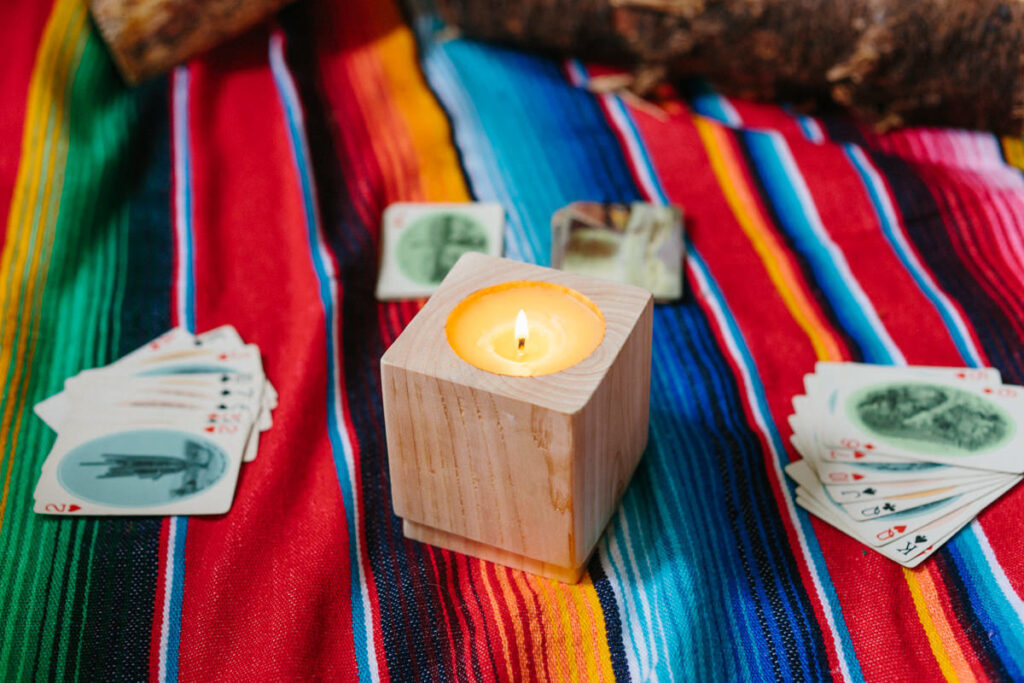
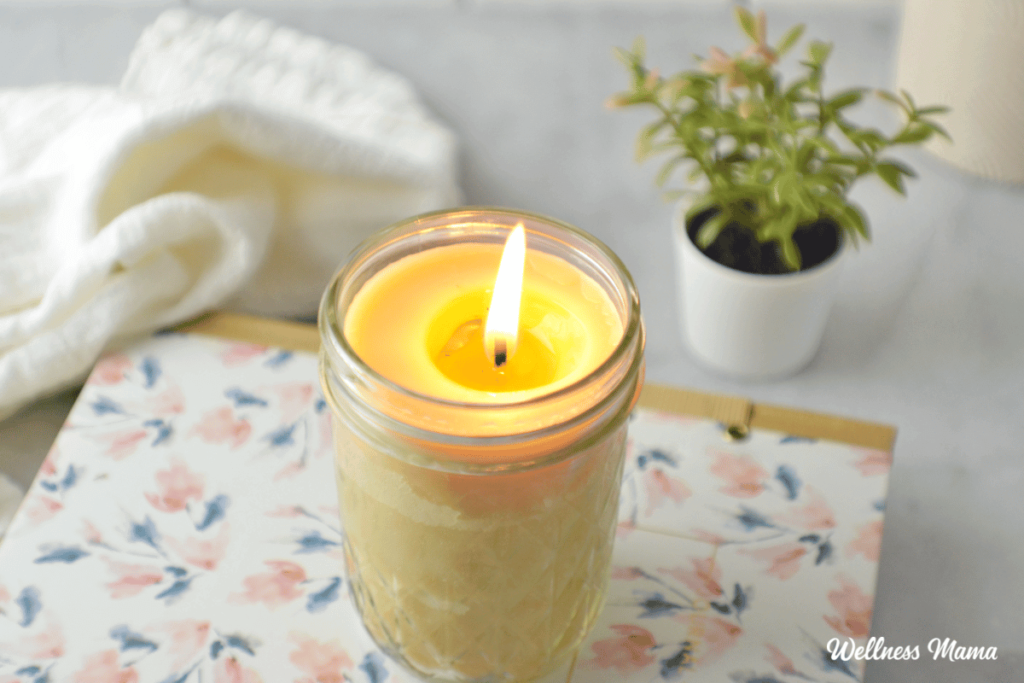
- Jar candles: Encased in a glass jar, these candles create a beautiful visual effect when lit, making them perfect for decorative DIY projects. The glass container not only adds a touch of sophistication but also helps to protect the flame from drafts, ensuring a steady burn. Whether you’re creating a cozy atmosphere in your living room or adding a warm glow to your outdoor patio, jar candles are a versatile and stylish choice.
- Taper candles: These long, slender candles add an elegant touch to any DIY project and are commonly used for formal occasions. Whether you’re setting the mood for a romantic dinner or adding a touch of sophistication to a wedding centerpiece, taper candles are a classic choice. Their elongated shape and slow, graceful burn make them a favorite among DIY enthusiasts.
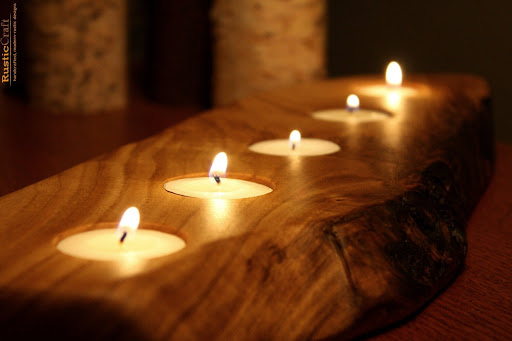
- Votive candles: These small, cylindrical candles are great for creating a cozy atmosphere and work well in DIY projects that require multiple candles. Whether you’re creating a relaxing spa-like experience in your bathroom or setting the mood for a dinner party, votive candles are a versatile option. Their compact size allows for easy placement and arrangement, making them a popular choice among DIY decorators.
With such a wide variety of wick candles to choose from, you can find the perfect option to suit your DIY project. Whether you’re aiming for a romantic ambiance, a cozy atmosphere, or an elegant touch, wick candles are a versatile and enchanting choice. So go ahead, let your creativity shine and explore the world of wick candles in your next DIY endeavor!
Read about candle wick holder at: Essential Tools Using a Candle Wick Holder for Stability
Incorporating Wick Candles into Your DIY Projects
Once you have a good understanding of wick candles, it’s time to explore how to best incorporate them into your DIY projects. By following a few guidelines, you can ensure the success of your endeavors.
When it comes to choosing the right wick candle for your project, there are several factors to consider. One important aspect is the size of the candle. If you’re working on a large-scale project, such as creating a stunning centerpiece for a grand event, you may want to opt for pillar candles. These candles not only provide a long burn time but also make a bold statement with their elegant presence.
On the other hand, if you’re working on a smaller project, like crafting personalized gifts for your loved ones, votive candles are a fantastic choice. These petite candles, often housed in decorative holders, add a touch of charm and warmth to any DIY creation.
In addition to size, shape is another consideration. For instance, if you’re designing a unique candle holder that requires a specific shape, such as a cylindrical or square base, be sure to select a wick candle that matches your vision. By paying attention to these details, you can ensure that your DIY project turns out exactly as you imagined.
When it comes to scent, the possibilities are endless. You can choose from a wide range of fragrances, from soothing lavender to invigorating citrus. Consider the ambiance you want to create with your DIY project and select a wick candle that complements that atmosphere. Whether you’re aiming for a relaxing and tranquil environment or a vibrant and energizing space, there’s a scent out there that will perfectly enhance your creation. Find more about atmosphere at https://scied.ucar.edu/kids/sky-wonders/what-is-atmosphere
Now, let’s talk about color. The color of the candle can play a significant role in the overall aesthetic of your DIY project. If you’re going for a minimalist and modern look, you might opt for a sleek white or black candle. On the other hand, if you’re aiming for a more vibrant and eclectic vibe, you can experiment with bold and vibrant colors like red, blue, or even metallic shades. The right color choice can add an extra layer of beauty and cohesiveness to your DIY creation, tying everything together in a visually pleasing way.
Safety Measures When Using Wick Candles
While wick candles are a delightful addition to any DIY project, it’s crucial to prioritize safety. Here are some essential safety measures to follow:
- Never leave a burning candle unattended.
- Keep candles away from flammable materials.
- Ensure the candle is placed on a stable surface.
- Trim the wick to a quarter of an inch before lighting.
- Place candles out of reach of children and pets.
- Extinguish candles before leaving the room or going to sleep.
By following these safety measures, you can enjoy the beauty of wick candles in your DIY projects without any worry. Remember, safety should always be a top priority when working with open flames.
So, whether you’re creating a stunning centerpiece for a special occasion or crafting personalized gifts for your loved ones, incorporating wick candles into your DIY projects can elevate them to a whole new level. With the right candle selection and safety precautions in place, your creations will shine with beauty and add a touch of warmth and ambiance to any space.
Step-by-Step Guide to Using Wick Candles in DIY Projects
Now that you’re equipped with the knowledge of wick candles and how to ensure safety, let’s explore a step-by-step guide on using them in your DIY projects.
Preparing Your Workspace
Before diving into your project, ensure that your workspace is clean and free from any hazards. Clear away any flammable materials or clutter that could pose a risk during the candle-making process.
Organize your materials and tools, making it easier to access them as needed. This will save you time and prevent any unnecessary frustration during your DIY project.
Setting Up Your Wick Candle
Once your workspace is ready, it’s time to set up your wick candle. If you’re using a jar candle, ensure that it is clean and free from dust or debris. For pillar candles, place them on a heat-resistant tray or holder that complements your project’s aesthetic.
If your candle has a lid, remove it before lighting. This allows for proper ventilation and ensures a steady burn.
Lighting and Maintaining Your Wick Candle
To light your wick candle, use a long-reach lighter or match and carefully ignite the wick. Ensure that the flame is steady and centered on the wick.
While your candle is burning, monitor it closely. Avoid placing it near drafts, as this can cause uneven burning and excessive smoke. Always keep flammable materials away from the flame. Click here to read more about flammable.
If you notice any signs of soot buildup on the container or excessive flickering of the flame, extinguish the candle and trim the wick to a quarter of an inch. This will promote a cleaner burn and prevent any potential issues.
Troubleshooting Common Wick Candle Issues
Even with the best practices, occasional issues may arise when using wick candles in your DIY projects. Let’s address two common problems and provide solutions for each.
Addressing Wick Candle Burn Problems
If you find that your wick candle is burning too quickly or unevenly, it could be due to an incorrect wick size or poor draft management. In such cases, consider trimming the wick to a shorter length or moving the candle to a different location with better airflow.
Experiment with different wick sizes and candle placements to achieve the desired burn time and an even wax melt pool.
Solving Wick Candle Soot Issues
Excessive soot buildup on the candle container can detract from the beauty of your DIY project. To prevent soot from forming, ensure that the wick is trimmed to the recommended length before lighting.
Additionally, avoid burning the candle for prolonged periods, as this can lead to excessive soot production. Regularly cleaning the container can also help maintain the aesthetic appeal of your project.
Maintaining Your Wick Candles
To ensure the longevity of your wick candles and preserve their beauty, proper maintenance is necessary.
Cleaning and Storing Your Wick Candles
Over time, wick candles can accumulate dust or debris, affecting their appearance and burn quality. To clean the container, gently wipe it with a soft cloth or use a mild detergent solution if necessary.
When storing your wick candles, keep them in a cool and dry place to prevent warping or melting. Avoid exposing them to direct sunlight, as this can cause fading or discoloration.
Prolonging the Lifespan of Your Wick Candles
To make the most out of your wick candles, consider the following tips:
- Trim the wick before each subsequent use to ensure a clean and even burn.
- Avoid burning the candle for extended periods, as this can affect its overall lifespan.
- Rotate the candles in your collection to ensure an even burn and prevent uneven melting.
- Store unused candles properly to maintain their scent and quality.
By following these maintenance practices, you can enjoy the beauty and benefits of wick candles in your DIY projects for a long time.
Conclusion
Wick candles are an excellent addition to your DIY projects, providing warmth, beauty, and a captivating ambiance. By understanding the basics of wick candles, incorporating them effectively, following a step-by-step guide, troubleshooting common issues, and maintaining them properly, you can elevate the quality and aesthetic appeal of your DIY creations.